Sunday 28 September 2014

Christmas card class


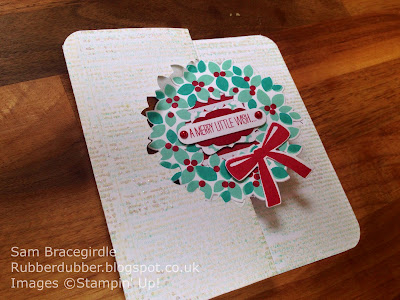
Would you like to make these 2 gorgeous glittery Christmas cards & some gift tags? Come to my friendly, informal card class & I'll show you how. No experience necessary, just enthusiasm & a festive spirit! 

Cost £10 (inc refreshments)
Thurs 9 October 2014 7-9pm
Heald Green, Stockport.

This is a small class so booking is essential - email me at bracegirdlesam@gmail.com or call 07407 510151 for more information & to book your place. 

This class can be run for larger craft groups at your venue, or as a 1-2-1 session for personal tuition. I just love any excuse to get together with people & craft  :)

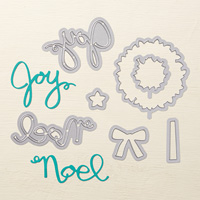
Techniques used include stamping, die cutting & heat embossing. Project uses Stampin' Up!'s Wondrous Wreath stamp set & coordinating Framelits & other Stampin' Up! products.

Friday 26 September 2014

Pop up White Christmas


Love me my pop up cards & the White Christmas stamp set is perfect for creating little scenes.

I used the house from the Life's Adventures stamp set, which is a hostess set, but this card would work equally well with the Holiday Home stamp set in the Autumn/Winter catalogue. I've put details of both below. (Incidentally, the Apothecary Accents Framelits & coordinating paper piercing template I used on the sentiment are both on sale in this weeks Weekly Deals!)

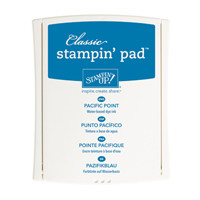
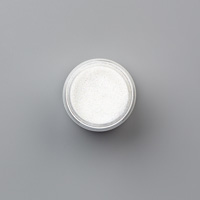
I made the starry sky using a clear emboss resist technique. I pressed the Versamark ink pad through the the star mask  then embossed with clear embossing powder. Then I sponged Pacific Point ink over the top, & gave the card a quick swipe with a baby wipe to remove the ink from the stars.

With practice, pop up cards are pretty easy. You just need to get a feel for where to make the cuts at the back of your card & how different length cuts  create perspective.

Here, my white base card measures 4 1/2"  (11.5cm) wide, & the cuts are at 1 5/8" & 2 6/8" (4.2 cm & 7.2cm). I put a stepped cut into the second cut, to pop the car in front of the tree.


Friday 12 September 2014

Short break


Hello! Sorry I've not posted for a while.  It's been a busy week - a 50th birthday to celebrate (not mine!) & my wedding anniversary this weekend, so crafting has taken a back seat. 

I'll be back to usual next week. 

Enjoy the weekend!

Wednesday 3 September 2014

Gorgeously glittery Wondrous Wreath flip card


Here's another flip card & video showcasing the Wondrous Wreath stamp set & Wonderful Wreath Framelits.

I drone one for about 20 minutes in this video. There's a shorter video available here if you just want to see how to create the flip element with the Framelits dies.


The stamps & Framelits are available to buy separately or together as a bundle, saving 15%.

Monday 1 September 2014

Wondrous Wreath flip card tutorial


I've had a look online & can't find any other examples of Wondrous Wreath flip cards. ZOMG, have I just innovated???  I think I need to lie down.

Here's a quick tutorial which gives you the basics of how to use your Wondrous Wreath stamp set & Wonderful Wreath Framelits to make a flip card. I'll post a stepped up version later.

Please do email me if you're interested in purchasing anything and would like a free catalogue to browse through.


Summary

Cut a piece of card measuring 6 6/8" x 5". Score lines are 2 1/2" & 3 1/2". 

Decide which side of the card you want showing (in this case, the wood grain side) & place the Framelit face down on the reverse side, lining the tab up with the 2.5" score line. Partially cover with cutting plate & run it through the big shot from both sides.

Cut out your wreath & before removing it from the big shot mark the back where the tab was. Put wet glue on the back of the wreath & use the mark on the back to line it up with the top of the flip die cut. Folding the card flat to let the existing cuts act as a template helps with placement.

If you've not made one before you'll need to practice a couple of times. I promise though, once you get it right you'll feel smarter than Stephen Hawking!