Showing posts with label pop up cards. Show all posts

Monday, 25 January 2016

Pop Up Valentine #2


Two Bloomin' Hearts pop-up Valentine cards in 2 days! It's an all out, Bloomin' Hearts, pop-up Valentine card frenzy!!

I made this card using the Bloomin Hearts thinlit dies and Bloomin' Love stamp set. I used pretty much the same principle as with yesterday's card - score your base card, position the heart die about .5" from the score line & don't completely cover it with the top cutting plate, so that the heart remains attached at the base point.


Flip the card over and repeat on the opposite side of the card. Lift up the two part cut hearts & glue them to each other at the top with a couple of glue dots. Decorate with a sentiment and cut a slightly larger backing card in black. Attach the black backing card & cut a couple more hearts in Real Red. Glue them into the gap left by the popped up hearts (cut off the very bottoms off where the popped up hearts are still attached). And you're done!


Here's what I used - click on anything to buy.
Built for Free Using: My Stampin Blog

Sunday, 24 January 2016

Pop up Valentine #1


Here's a crisp and clean pop up Valentine card made with the new Bloomin' Love bundle - a die set and a coordinating set of stamps (buy as a bundle rather than individually & save 15%). The die reminded me of the lovely white laser cut cards you can buy so I thought I have a go at making my own.


I took a piece of Whisper White Thick card and folded it down the middle to make a 4 1/4" x 5 1/2" card. 


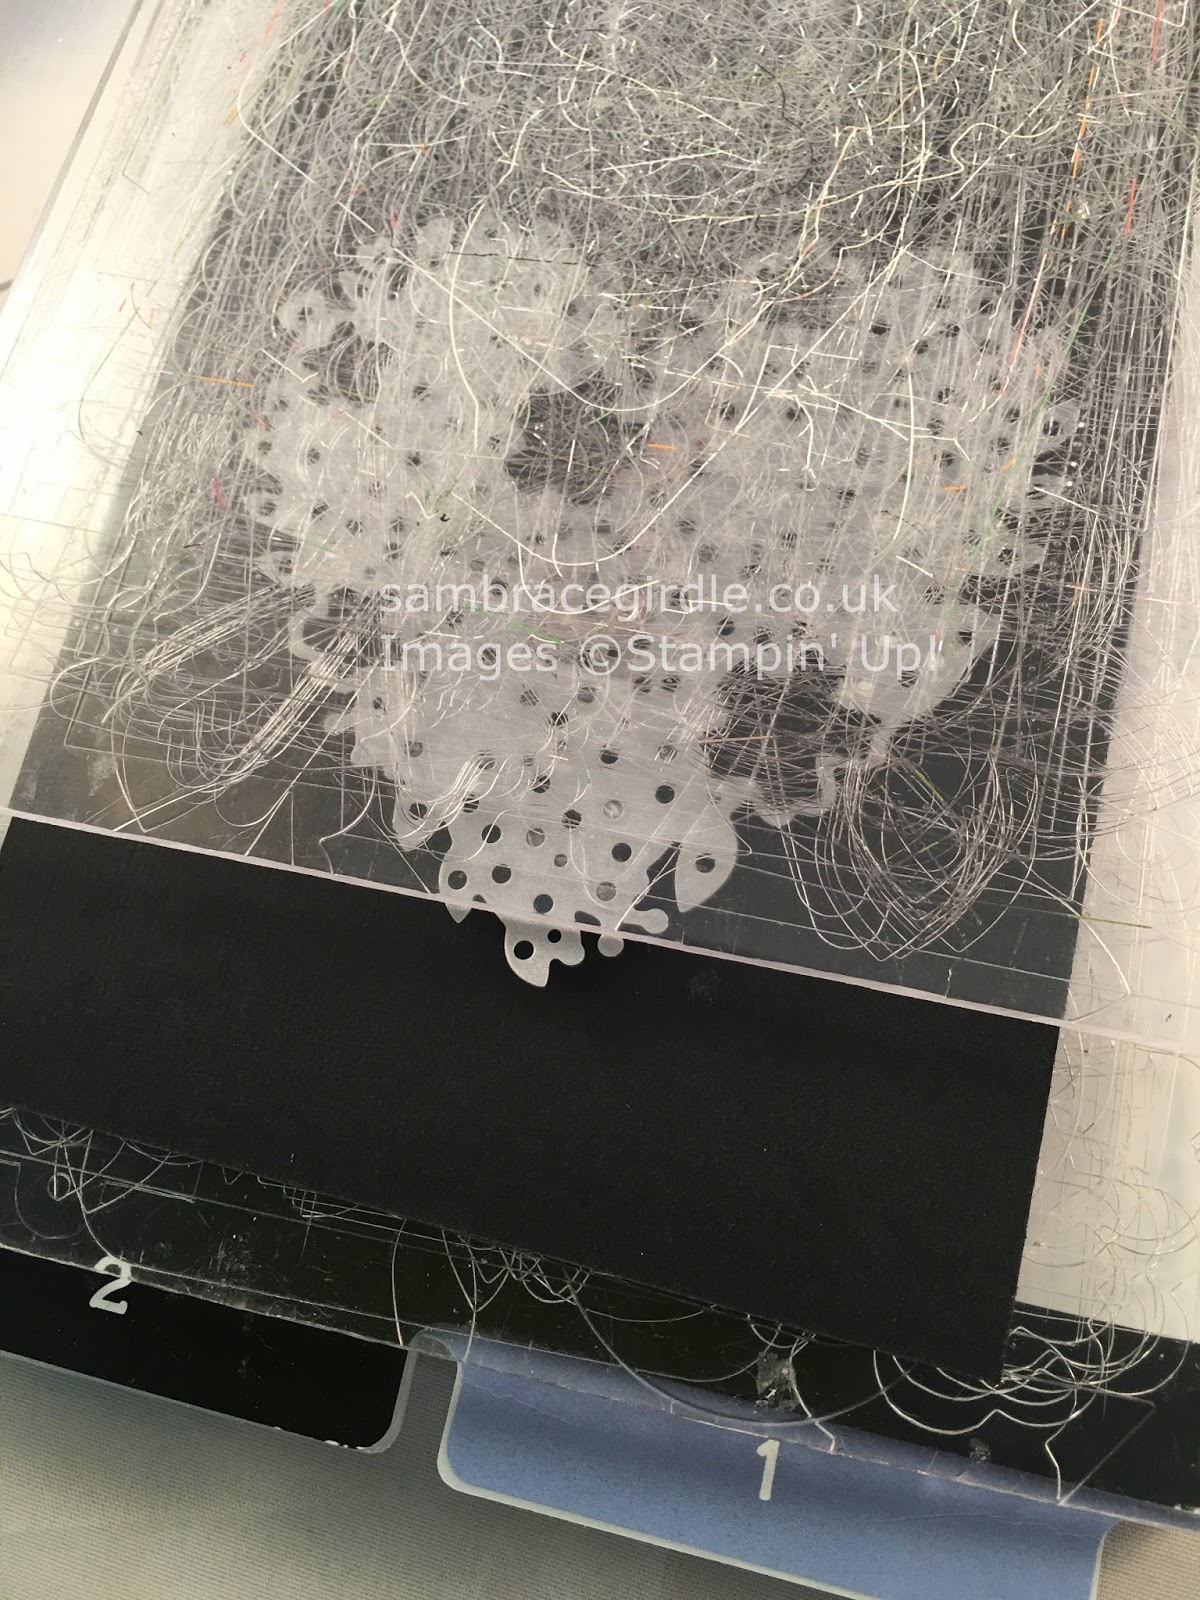
I positioned the floral heart die on it with the bottom point about half an inch from the score line. For running it through the Big Shot, I placed the top cutting pad so that it didn't cover the very bottom point of the heart. I really need to buy new cutting pads, don't I?


This is so that it doesn't cut that part out and the bottom remains attached to the base of the card & helps hold it in place - look carefully at the photo & you'll see.


Gently push the part cut heart up so that it's perpendicular to the opposite side of the card. Punch a piece of Whisper White with the Word Window punch (or cut a narrow strip about 1.5" x .25"). Crease at about .25" on each end & fold. Glue one end to the back of the large flower in the centre of the heart. Cut a thin slot in the base card, roughly behind where the flower will appear when popped up & feed the strip of card through & glue to the back.


This is what it should look like when secured. And that's the pop up stuff done - the rest is all decoration.


I glued a piece of Whisper White card behind the space where the white heart  had been cut from. Then I cut another heart in Real Red cardstock, flipped it over so that the reverse was upward, cut the very bottom point off (as that's where the white heart remains attached to the card) and glued it into the empty space. It will fit snugly, like a jigsaw piece. 


Then I stamped and die cut various elements from the stamp set and arranged them on the heart. The flower centres are cut from silver glimmer paper and I looped some silver thread at the back.

To back the card, I cut a piece of Real Red cardstock slightly larger than the card base and carefully stuck the card base inside with tape. 


I ran a peice of taffeta ribbon round the inside of the card and secured it on the outside with tape, then placed a stamped die cut over the join and finished with a hand tied taffeta bow.


I added a stamped die cut to the back of the card, to write a message. I've kept it small as I do not go in for sloppy smoochy kissy wissy messages. Me & Mr B have been together 28 years and so a brisk and efficient indication of general goodwill is all that is required. Otherwise he starts getting "ideas".

So that's how you can use the Bloomin' Hearts thinlit dies and Bloomin' Love stamps to make a pop up Valentine! I think it would also look really good as a wedding card, all in white. I'll have a go at that this week.

I'll have another pop up card using the Bloomin' Hearts die for you tomorrow, so do come back & check.

And if you want to make this yourself, here's what I used:


Built for Free Using: My Stampin Blog

Sunday, 17 May 2015

New Stampin' Up! catalogue sneak peek (video)


pop up & cupcake card


It's that time of year when we Stampin' Up! demonstrators go all giddy & excitable. The new annual catalogue launch is just around the corner (2 June) & this week we got to pre-order & play with a select few items.

These cards showcase four products:

  • the new 2015-2017 In Colors (a new set of colours Stampin' Up! introduces each year, available for the next 2 years)
  • Cherry on Top 6x6 patterned papers
  • Sprinkles of Life stamp set
  • Tree Builder punch

Card designed by Sam Bracegirdle
£2 from the sale of every Sprinkles of Life stamp set goes to support Stampin' Up!'s chosen charity, the Ronald MacDonald House programme. This provides hospital accommodation for the families of sick children, so they can be together during very difficult times. It's a very worthy cause, & so it's worth buying this stamp set for that alone. It's also very cute & very versatile, with images that range from cupcakes to trees to flowers to clouds, plus sentiments too. You can see just how hard working these items are from these two cards, which use the same products but are totally different.


Sprinkles of Life card designed by Sam Bracegirdle
 
Ooh, I should add, that's the new dotted lace ribbon in one of the new In Colors.
 
Here's a closer look at the cards & the products themselves. You can buy them from my Stampin' Up! shop from 2 June 2015. In the meantime, if you'd like a catalogue, get in touch.
 
Sam x


Saturday, 2 May 2015

Balloon birthday card

 
I made this card using the partial die cut technique (only running the die half way through the Big Shot), so the balloon floats off up at the top.
 
I used a MISTI stamp positioner (an amazing tool which allows precision stamping and repeat over stamping) to mask and stamp the greeting in different colours, and to overstamp the balloon in Versamark, ready for heat embossing. I also added in the "a" from a stamp in another stamp set, Pictogram Punches, so the sentiment made sense.
 
Here's what I used:
 
 
Built for Free Using: My Stampin Blog


Saturday, 7 March 2015

Cheerful Critters pop up card (video)


Right. First off, please excuse my grebby nails in this video. I had intended to re paint them beforehand, but, well, frankly I just couldn't be bothered. I'd love to say they don't normally look like that...

Anyway, here's how to make the Cheerful Critters pop up card from earlier in the week. I must admit I've struggled a little with this stamp set. I'm not used to working with cartoonish images & it's been a challenge to work them in in a way which I'm happy with. But I really love this card, & I think they work so well with the So You stamp set.


The ribbon & patterned paper for the dress & pink frame are available for free during Sale-a-bration, for every £45 you spend. There have also been a couple of lovely new additions to the free items so check them out here*. Sale-a-bration only lasts to the end of March, so why not treat yourself now?

*please note the Blendabilities are not currently available to order

Measurements:
Base card 11" x 4 2/8"
Inner  10 6/8" x 4"
Cuts from crease line: 
1st step 1 2/8" from left and right edges, 1 1/5" up
2nd step  1/2" from left & right edges, 1/2" up


Built for Free Using: My Stampin Blog


Sunday, 1 March 2015

Cheerful Critters pop up


Been a busy old week, topped off with Thursday's monthly class, where we made pop up cards. When it comes to pop up cards I can never make just one, so here's another featuring 2 stamp sets - Cheerful Critters & So You.


If I get chance on Monday I'll post a video  showing you how to make it :)


Built for Free Using: My Stampin Blog


Friday, 13 February 2015

Pop up Valentine's card


Valentine's Day tomorrow.  I was going to give Mr B the card I made as a sample for my Valentine's card classes. To some, this will seem cheap. However, thrift is a quality my husband finds strangely arousing in a woman, so I was onto a winner! But I smudged ink on it & it couldn't be saved. So I made this one instead. Hearts, flying at your face from all angles! 
 

To get the fancy edge I took the large Framelit from the Apothecary Accents set, placed it against each edge of the card & just ran it partly through the Big Shot, so that it only cut half the die.


The I heart U stamp is from the Pictogram Punches set - I forgot to add that in the links below.

Have a fun & smoochy Valentines Day, whatever you get up to. And if it should turn into a washout - if he's sat there picking his feet & watching Match of the Day instead of gazing lovingly into your eyes - why not console yourself with a spot of craft shopping? Click on any of the pictures below to hop through into my shop. And remember, there's free product to be picked from the Sale-a-Bration catalogue if your order tops £45.


Built for Free Using: My Stampin Blog


Saturday, 31 January 2015

Birthday pop up!


Fiddling around with the new Celebrate Today stamp set & Balloon Framelits & I made this. It's going to form the basis for February's card class (link in the side bar).
 
You can buy the stamp set and Framelits separately, but if you buy them together as a bundle you save 15%. Coordinating dies and punches make your stamp sets go sooo much further & I really recommend you buy them together if your budget allows.
 
I seem to have been making Christmas stuff for ages (since last August in fact) so it's a relief to finally play with softer, pastel colours!


Built for Free Using: My Stampin Blog


Sunday, 25 January 2015

Butterfly Basics pop-up


I made this pretty and delicate card using Stampin' Up!'s new Butterfly Basics stamp set and coordinating Thinlit dies. (You can buy them together as a bundle and save 15%). Shabby chic is my favourite crafty style so I loved making it. 
 

And yes it does fold completely flat! The gorgeous floral trim is from the Artisan Embellishment Kit, which is full of bits and bobs to perk up a shabby chic card. You can order it or anything else from Stampin' Up! by clicking "Shop now" in the right hand side bar (p&p charges apply).


Pop up cards are so easy. The only cut I made for this was about 2cm, in the centre, then mounted the butterflies on it. I might do a class on pop-up cards in a couple of months.
 
Speaking of classes, this Thursday's card class is now fully booked. My next one is Thursday 26 February. Email me if you want to be notified of future classes. We're only a small group, but it's good fun, and you should leave with finished projects. Also, if you can gather a few friends together I'm always happy to hold extra classes at a time to suit :)

Here's what I used to make this card -
 

Saturday, 8 November 2014

Wondrous Wreath 3D pop up card


I found a way of popping up Wondrous Wreaths.  Watch the video for a clearer look.